Calling all cheesecake lovers out there!
Cheesecakes have always been tricky and challenging to make. In the past, my cheesecakes have always failed on me that I actually developed a fear of baking them. They would either crack or the water from the water bath would seep in and soften the crust, or they would not be at the ideal creamy consistency. Although I prefer tofu cheesecakes and Japanese soufflé cheesecakes to such traditional NY cheesecakes, I was still determined to master it because don’t we all crave something rich on occasion?
This recipe is amazing because it always yields a good consistency and best of all, it does not require a water bath! It is also not too heavy and less complicated as compared to many recipes out there. One thing that may test your patience is the need to refrigerate overnight (ideally) before un-moulding! Of course, you could cut short the waiting time and un-mould it after 6 – 7 hours, but I’ve never tried. :P In my opinion, it is mandatory to use a springform pan to bake this cheesecake, or any NY cheesecake in general. I would highly recommend you invest in one! Another thing to note is that ovens may differ and so you may not get the ideal result at the first try. Try to adjust the temperatures, e.g. lower the temperature and bake longer to prevent unsightly cracking. Get to know your oven!
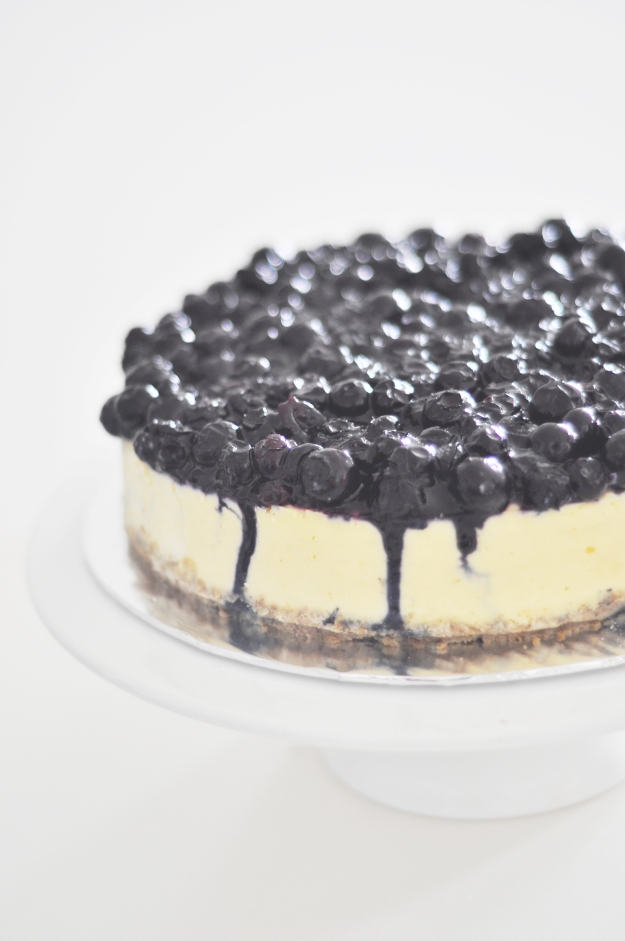
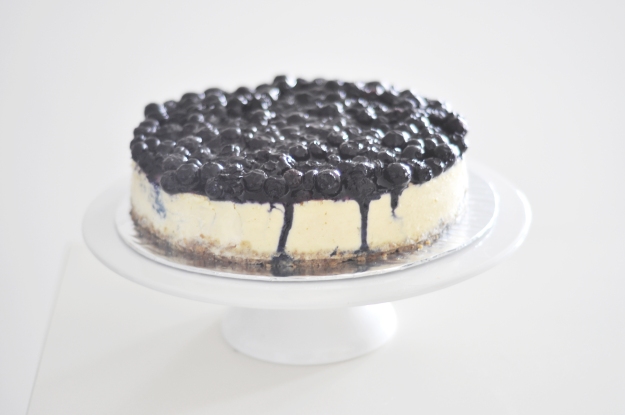
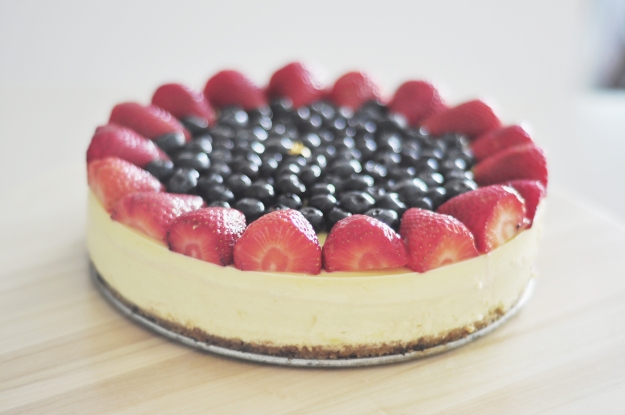
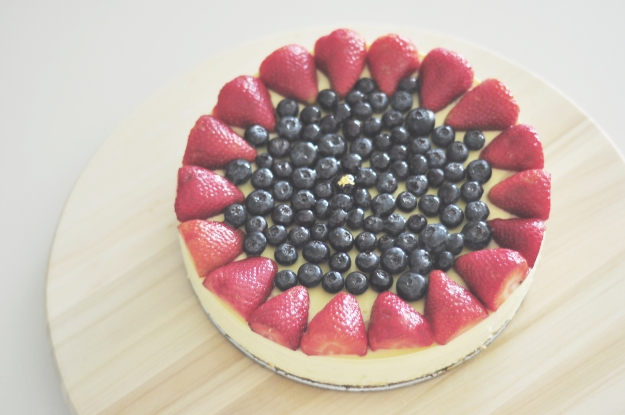
Unfortunately, I do not have a cross-section shot of the cheesecake as they were baked for two birthday occasions. I hope to capture the cross-section the next time I make it! I’ve made two versions of the cheesecake, one topped with blueberry compote while the other one was adorned with fresh berries. Excuse the lousy pictures… This post is long overdue. Some of the pictures were snapped in a jiffy as I was rushing for my flight (Tokyo, I think), haha.
Recipe for NY Cheesecake (makes a 9-inch cake, in a springform pan)
Baking Instructions: Bake for 15 minutes in an oven preheated to 180 degrees Celsius, lower to 120 degree Celsius and bake for 1 hour 45 minutes. To test for doneness, it should look just set, and wobble very slightly in the middle. It will solidify in the refrigerator overnight.
Cake base/Crust:
- 2 cups digestive biscuits (200g)
- ¼ cup crushed walnuts – for extra crunch
- ¼ granulated sugar (50g)
- ½ cup unsalted butter, melted (114g)
Steps for Crust:
Combine digestives, crushed walnuts and sugar together. Stir in melted butter and mix well. Line the bottom of the pan with the crust (you can come up to the sides if you wish) and refrigerate until crust feels solidified and compact, about 1 hour.
Cheesecake:
- 1kg cream cheese, at room temperature
- 1 cup granulated white sugar (200g)
- 2 ½ tablespoon plain flour
- 5 large eggs, room temperature
- 1/3 cup sour cream (80ml)
- 1 tablespoon lemon zest
- 1 teaspoon vanilla
Steps for Cheesecake:
Beat cream cheese until soft. Add in sugar and mix to combine. Stir in plain flour. Add in eggs, one at a time, after each egg is combined and no trace of yolk can be seen. Stir in sour cream, lemon zest and vanilla. Mix just until batter is not lumpy. Do not overmix. Pour in the prepared pan with crust and bake for 15 minutes in an oven preheated to 180 degrees Celsius. Lower to 120 degree Celsius and bake for 1 hour 45 minutes. To test for doneness, the cake should look just set, and wobble very slightly in the middle (wobbly centre should be no more than 1.5″ in diameter). It should solidify in the refrigerator overnight. Yes, you have to refrigerate the cake overnight, or at least 5 – 6 hours before un-moulding. Patience, my dear!
Blueberry Topping
- 2 cups frozen or fresh blueberries
- 1 tablespoon sugar
- ½ tablespoon cornstarch
- 1 teaspoon lemon juice
- 1 ½ tablespoon water
Steps for Blueberry Topping:
You can choose to make the Blueberry topping after un-moulding the cake. Combine cornstarch, lemon juice and water in a small bowl. In a small pan, boil blueberries and sugar together until juice is released. Add in the cornstarch, lemon juice and water mixture and stir in to combine.
Alternative Topping:
Fresh berries – I used a mixture of strawberries and blueberries.
Enjoy!


haridasgowra
• 11 years agocheese for ever………….looking good….Nice to share with us………..#wordpress!
vickiima
• 11 years agoThank you!
foodlikecake
• 11 years agoLooks so yummy!
vickiima
• 11 years agoThank you!
Airydreamer
• 11 years agoLovely! I prefer the lighter cheesecake as well~!
vickiima
• 11 years agoThanks Nat :-) Yes I’ve seen your pictures of the souffle cheesecake, and it looks divine! Shall bake that soon!
ovenhaven
• 11 years agoThis is so pretty! I don’t eat cheesecakes, but I’m definitely bookmarking this for the family. Thanks for sharing, babe!
vickiima
• 11 years agoLet me know how it turns out!! I’m excited to see the outcome :) You’re most welcome!
Thank the Greeks for Cheesecake | Recipes for a Healthy You
• 11 years ago[…] NY cheesecake […]